
How to Deadlift Properly: The Complete Technique Guide
The deadlift step by step: stance, grip, bracing, the pull and the lowering – plus the most common mistakes, variations from sumo to trap bar, lifting belts, programming and what to consider with back pain.
 作者:Michael Lohrberg
閱讀時間 5 分鐘
本文尚未提供繁體中文版,目前以 English 顯示。
重點摘要
For the deadlift, stand hip-width apart with the bar over the middle of your feet, grip just outside your legs, pull your shoulders slightly back and down and brace your core before the bar moves. Then push your feet into the floor, keep the bar close to your body and extend hips and knees together until you stand upright. Your back stays neutral throughout. The most common mistakes are a bar too far forward, a rounded lower back and jerking at the start. Beginners start with light weights and 3 sets of 5 reps.
目錄
The deadlift is the most honest exercise in the weight room: a weight lies on the floor and you pick it up. No rack, no bench, no momentum. At the same time, hardly any exercise is as effective for the entire back of the body – hamstrings, glutes, spinal erectors, upper back and grip strength all work together. And hardly any has such a bad reputation. Undeservedly, if the technique is right.
This guide takes you through the movement step by step. It belongs to the Exercises & Muscle Groups topic. The partner exercise for the legs is explained in How to squat correctly.
Why the deadlift is so effective
- Full-body exercise: hardly any exercise moves so much weight through so many joints.
- Training hip extension: the ability to extend powerfully from the hips is the basis for jumping, sprinting and everyday lifting.
- Strengthening the back muscles: the back works statically against a high load – excellent training for stability.
- Grip strength: the deadlift trains your forearms along the way.
The technique step by step
The deadlift in 6 steps
- 1
步驟 1
Take your stance
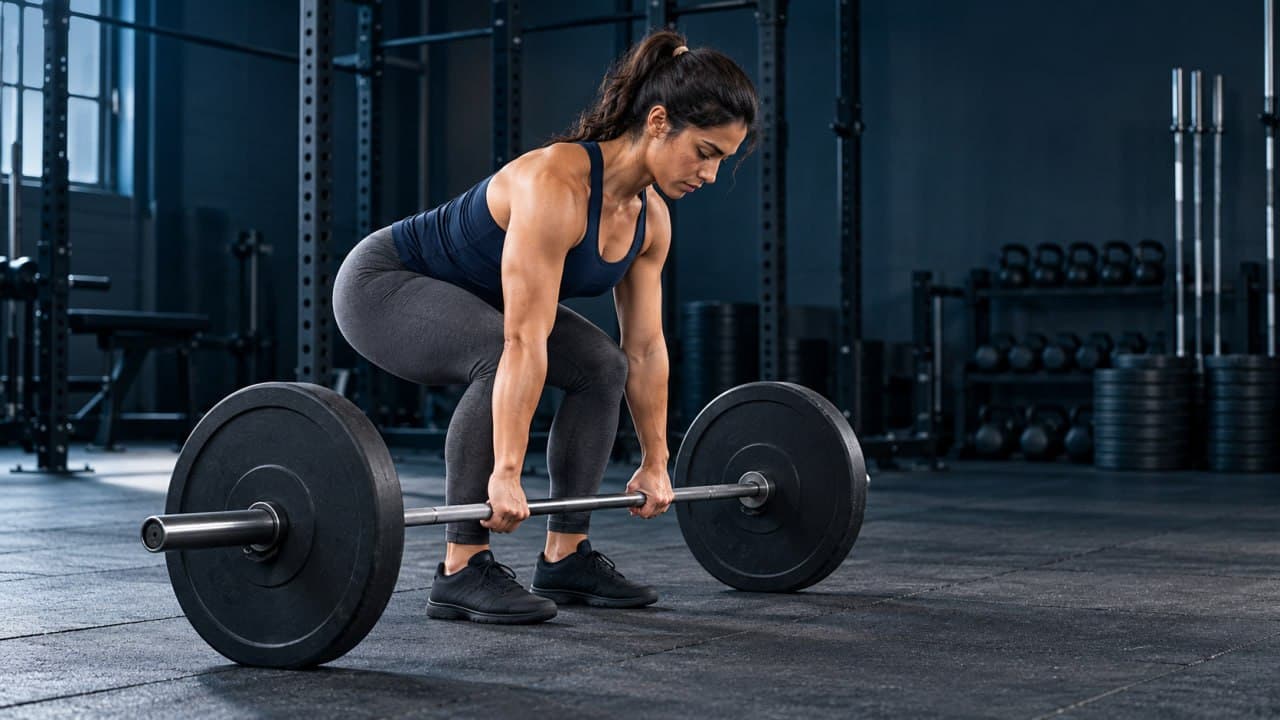
Stand hip-width apart with the bar over the middle of your feet – seen from above, roughly over your laces. Toes slightly turned out.
- 2
步驟 2
Grip
Hinge forward from the hips without bending your knees much and grip the bar shoulder-width apart, just outside your legs. Arms straight.
- 3
步驟 3
Shins to the bar
Bend your knees until your shins touch the bar. The bar must not move.
- 4
步驟 4
Brace
Lift your chest slightly and pull your shoulders back and down, as if squeezing oranges in your armpits. Take a deep breath and brace your core firmly.
- 5
步驟 5
Pull
Push your feet into the floor and extend knees and hips together. The bar stays against your body and moves straight up. Stand tall at the top, squeeze your glutes, don't lean back.
- 6
步驟 6
Lower
Push your hips back until the bar has passed your knees, then bend your knees and set the bar down under control over the middle of your feet.
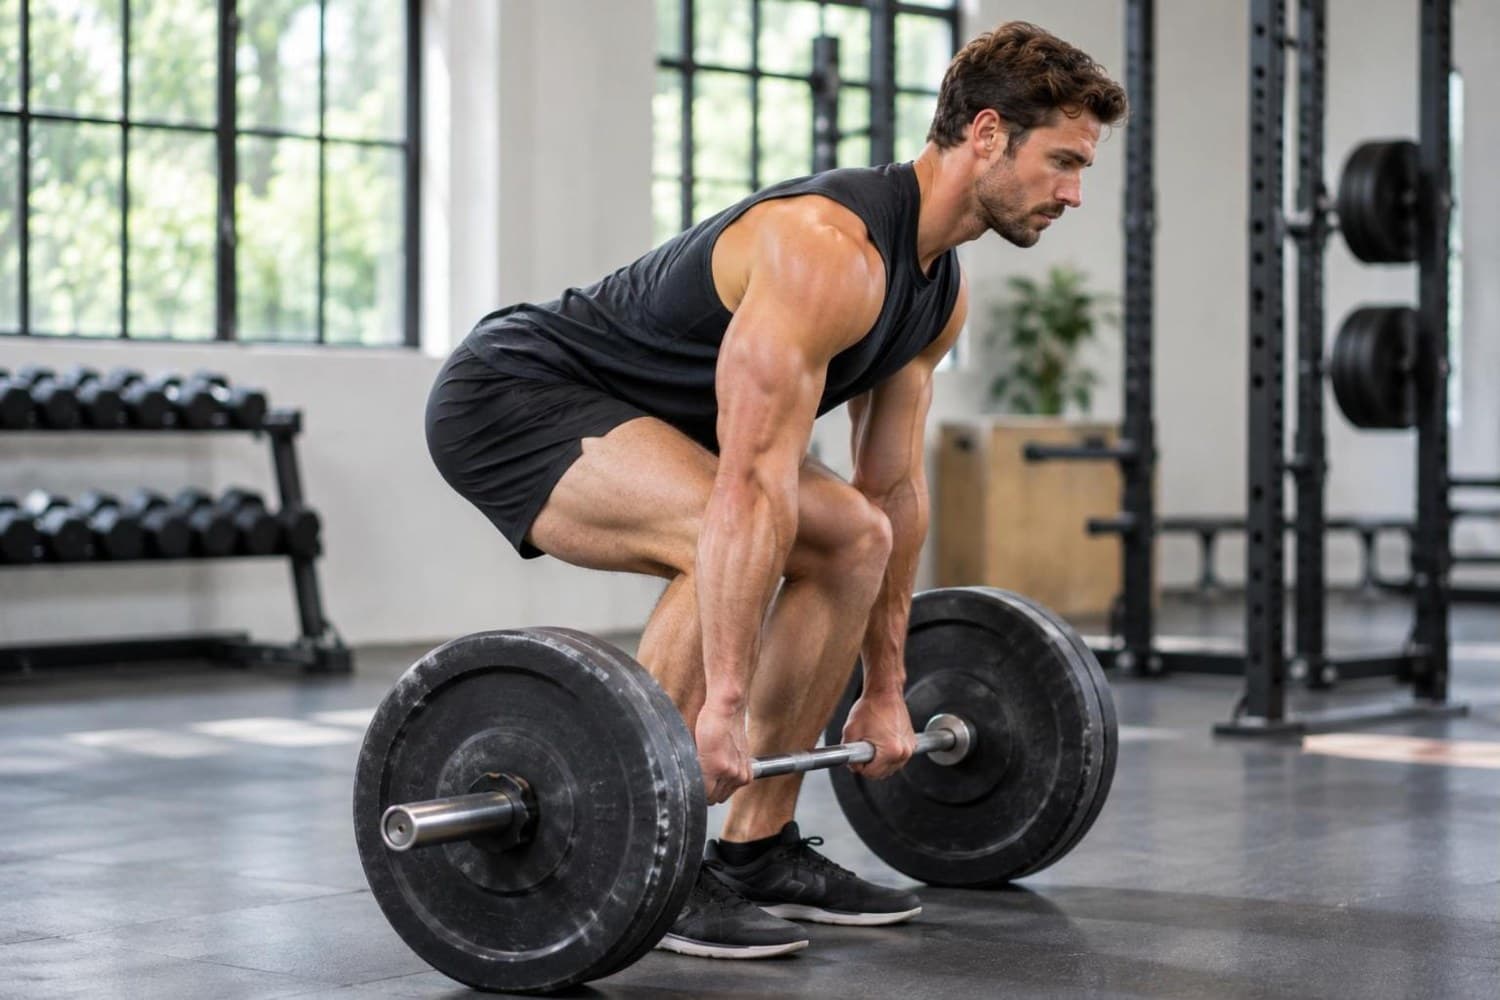
The stance
Your feet are about hip-width apart, the way you would stand to jump. The bar is over the middle of your feet – that is the single most important point. If the bar is too far forward, the lever on your back gets longer and the bar pulls you forward.
The grip
| Grip | Description | When it makes sense |
|---|---|---|
| Double overhand | both backs of the hands face forward | warm-up and light to medium sets |
| Mixed grip | one hand overhand, one underhand | heavy sets; switch sides regularly |
| Hook grip | thumb trapped under the fingers | very secure, painful at first |
| With straps | loops around bar and wrist | when grip fails before the back, e.g. with high reps |
Bracing before the pull
The biggest difference between clean and poor deadlifts happens before the bar moves. Take the slack out of the bar: pull up slightly until you hear a soft click of the plates and your arms are tense – but without lifting the bar off the floor yet. Only then do you push. If you start with a jerk, you lose core tension at the crucial moment.
Breathing: breathe deep into your belly, hold your breath and brace your core all round, as if about to absorb a punch to the stomach. Only breathe out at the top or after setting the bar down.
The pull
Don't think "pull" but "push the floor away". The legs drive, the hips extend, the bar slides up along your shins and thighs. In the first phase, hips and shoulders rise at the same rate. At the top you stand upright with your glutes squeezed – without leaning back.
Lowering
Lowering is the reverse: hips back first, the bar slides down your thighs, then your knees bend. Controlled, but not artificially slow. On repetitions, set the bar down briefly each time and rebuild your tension.
The 7 most common mistakes
| Mistake | Consequence | Correction |
|---|---|---|
| Bar too far forward | more load on the back, bar pulls you forward | bar over mid-foot, shins to the bar |
| Rounded lower back | higher load on the spine | reduce weight, brace before the pull |
| Hips shoot up first | deadlift turns into a back-extension lift | let chest and hips rise together, drive actively with the legs |
| Jerky start | loss of tension | take the slack out of the bar, then push evenly |
| Bar drifts away from the body | longer lever | engage your lats, "pull the bar into your legs" |
| Hyperextending at the top | pressure on the lower back | squeeze your glutes, stand tall instead of leaning back |
| Bending the arms | biceps overload | arms stay straight like ropes |
Variations and what they're good for
Romanian deadlift (RDL). Starts standing; the knees stay slightly bent and the hips push back until you feel a clear stretch in the hamstrings. Ideal for building the back of the legs and as a second, lighter deadlift session in the week.
Sumo deadlift. Wide stance, grip inside the legs. More upright torso, quads and adductors work harder. More comfortable for some body types.
Trap bar deadlift. With the hexagonal bar you stand inside the weight. The load is closer to your centre of gravity, and the movement is a mix of deadlift and squat. Very beginner-friendly.
Deficit deadlift. Standing on a low platform – more range of motion, trains the start phase.
Rack pulls. The bar starts raised in the rack. Trains the top phase and grip but doesn't replace the full deadlift.
Programming the deadlift
| Goal | Sets × reps | Frequency |
|---|---|---|
| Learning the technique (weeks 1–4) | 3 × 5 with a light weight | 2× a week |
| Strength | 3–5 × 3–5 | 1× heavy, possibly 1× light variation |
| Muscle building | 3–4 × 6–10 (often as RDL) | 1–2× a week |
Reps above ten make little sense for the conventional deadlift: grip and core tension fatigue before the target muscles are sufficiently challenged. RDLs are better suited for more volume. How to progress in the long term is explained in Progressive overload.
Lifting belt: yes or no?
A belt gives your abs something to push against and can increase pressure in the trunk. Many experienced lifters use one for heavy sets. For beginners: first learn to stabilise your core without a belt. A belt is an amplifier, not a fix for missing tension.
Mobility as a prerequisite
If you can't reach the starting position with a neutral back, you need more hip mobility and more flexible hamstrings. Until then, it helps to place the bar on a small elevation. Exercises are in Improving hip mobility and the 10-minute mobility routine.
Deadlifts and back pain
The deadlift is not the enemy of your back. Many people with non-specific back pain benefit in the long term from targeted strengthening of the posterior chain. At the same time: with acute pain, radiating symptoms or numbness, see a doctor first. After that, the load is built up gradually – often with variations such as trap bar deadlifts or light RDLs. Background in Back pain and strength training.
Conclusion: respect, not fear
The deadlift deserves respect, but not fear. With a clean stance, bracing before the pull and a weight that doesn't exceed your technique, it becomes one of the most valuable exercises in your training. Complement it with a good pulling exercise for the upper back – how to train your back comprehensively is shown in Back training: the best exercises.
常見問題
Is the deadlift bad for your back?
No. With clean technique and an appropriate weight, the deadlift is a very effective exercise for the entire posterior chain, including the back muscles. As with any exercise, the risk of injury rises with excessive weight, fatigue and poor technique. If you have acute or persistent back pain, have a doctor or physiotherapist assess which load is right for you first.
How often should you deadlift?
For most people, heavy deadlifts once or twice a week are enough. They are very fatiguing, so they are often combined with a lighter variation such as the Romanian deadlift on a second day.
Can your back be rounded when deadlifting?
The goal is a neutral back, especially in the lower part. A slight rounding of the upper back occurs on very heavy attempts and isn't automatically dangerous for experienced lifters. As a beginner, you should learn to keep your whole back stable and neutral.
Do I need a belt for deadlifts?
Not as a beginner. A belt can help you build more pressure in your abdomen on heavy sets. But it doesn't replace core bracing, which you should learn without a belt first.
Conventional or sumo – which is better?
Neither variation is fundamentally better. Which fits better depends on your build, mobility and goals. In the sumo deadlift your torso is more upright and the legs work harder; in the conventional deadlift the posterior chain is more challenged.
標籤
- Deadlift
- Technique
- Back
- Compound lifts
- Strength training
Syrax 雜誌
延伸閱讀
 完整指南
動作與肌群
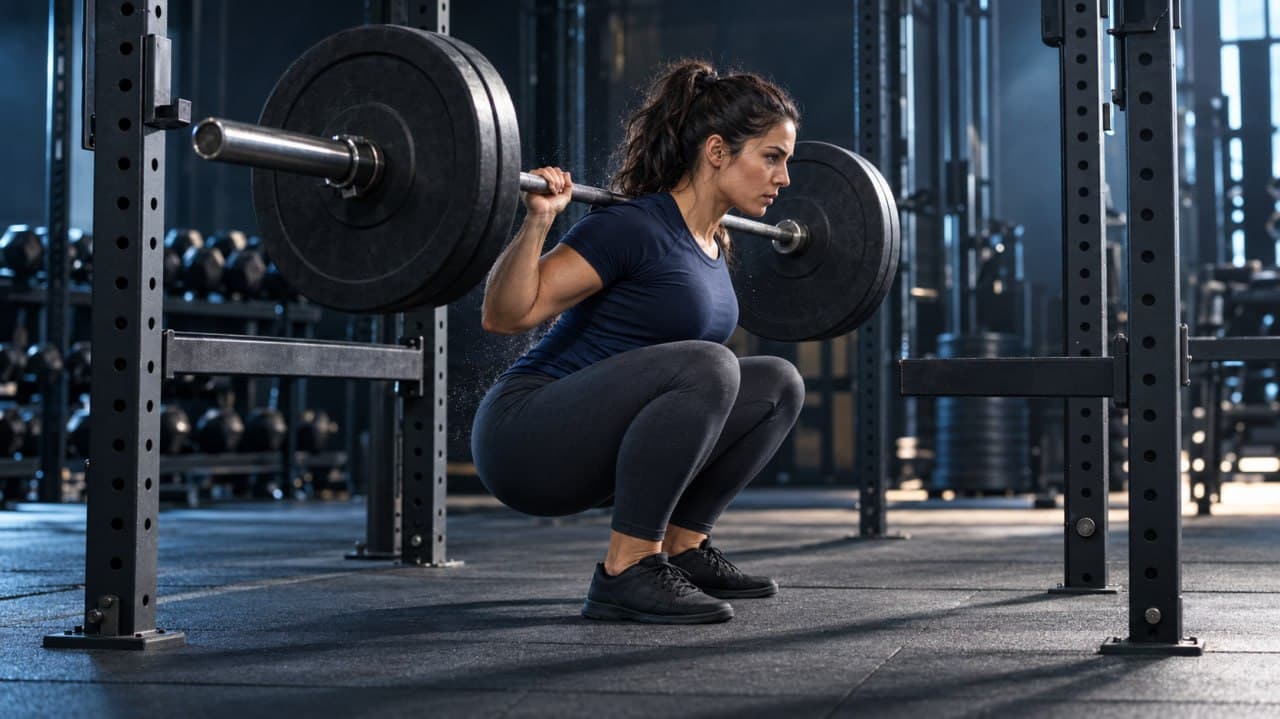
How to Squat Properly: Technique, Mistakes, Variations
The squat is the king of exercises – and the one most often performed badly. Step by step to perfect technique: stance, breathing, depth, knees, back, common mistakes and the right variation for your body.
閱讀時間 13 分鐘English
活動度與傷害預防
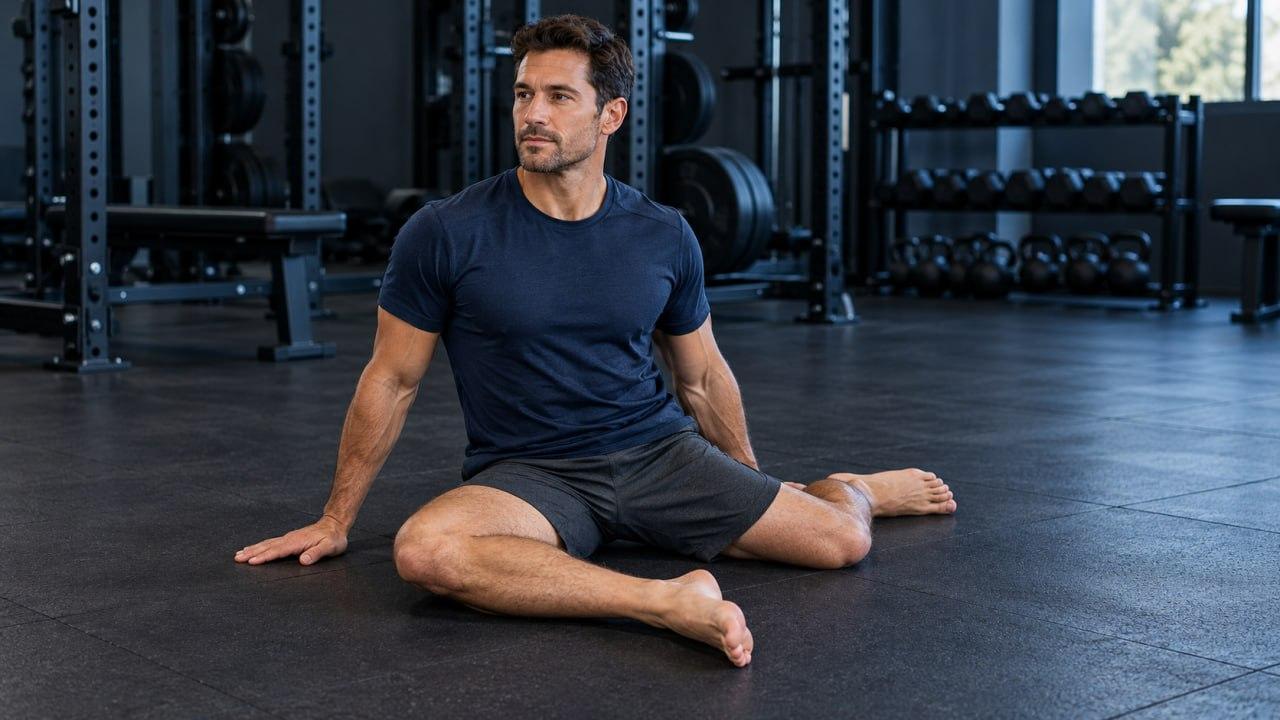
Improving Hip Mobility: The Best Exercises
Stiff hips hold back squats, deadlifts and running and often strain the lower back. With these tests and eight exercises for flexion, extension, internal and external rotation, you can make your hips noticeably more mobile within a few weeks.
閱讀時間 5 分鐘English
增肌與力量
Progressive Overload: The Most Important Principle for Strength and Muscle
No progression, no progress – but progression does not just mean "more weight". The seven ways to apply progressive overload, the best progression models for beginners and intermediates, and what to do when nothing moves any more.
閱讀時間 13 分鐘English